Flumph. Kerflumph. Kerflumph. Kerflumph. The sun peeked over the horizon. Kerflumph. Kerflumph. Kerflumph.
We woke up to a big bird of some sort that landed on our roof and walked around sight seeing or something. It sounded like a kid walking around on top of our trailer in flip flops. I’m sure it was a nice bird, but maybe my plan of staying up late then sleeping in isn’t the right strategy.
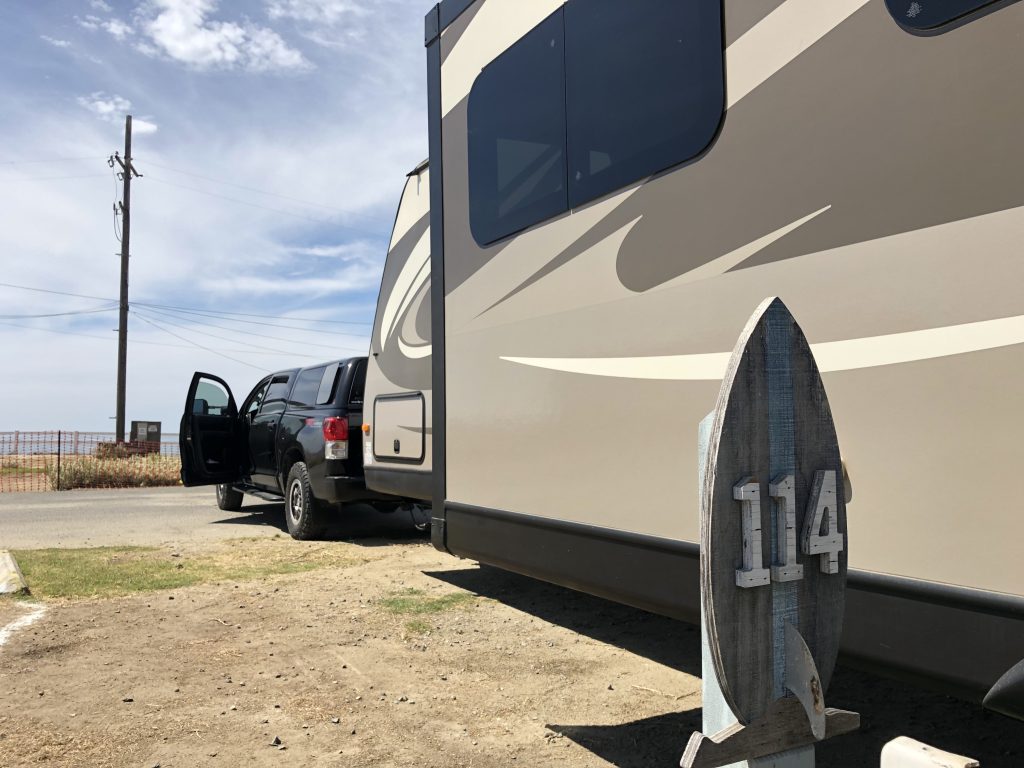
Shortly after the flip-flop bird, we noticed that tons of people were leaving. It was almost as if they all had to go back to work tomorrow. Strange. We decided to ask the reservation desk if there was a spot on the lower portion of the campground for our last night here. There were several available, so with the lure of better proximity to the beach and full hookups (the upper level had water & power, but no sewer hookups) we ditched Spot #4 (henceforth known as Spot #4a) and headed down the hill to Spot #4b. The kids were super excited to be closer to the beach and they did an awesome job of helping us move.
For future reference, Spot #4a was campsite #114. Spot #4b is campsite #12.
Our Spot #4b is a huge improvement. The beach is just a hop, skip & jump away (just across the road). The neighbors were all travel trailers and motorhomes instead of what was probably 30 loud nocturnal people in tents in each campsite surrounding our Spot #4a. Granted, complaining about camping on the beach and people enjoying themselves is, well, dumb. That said, it was nice that things quieted down around our campsite by 9pm instead of 1am.
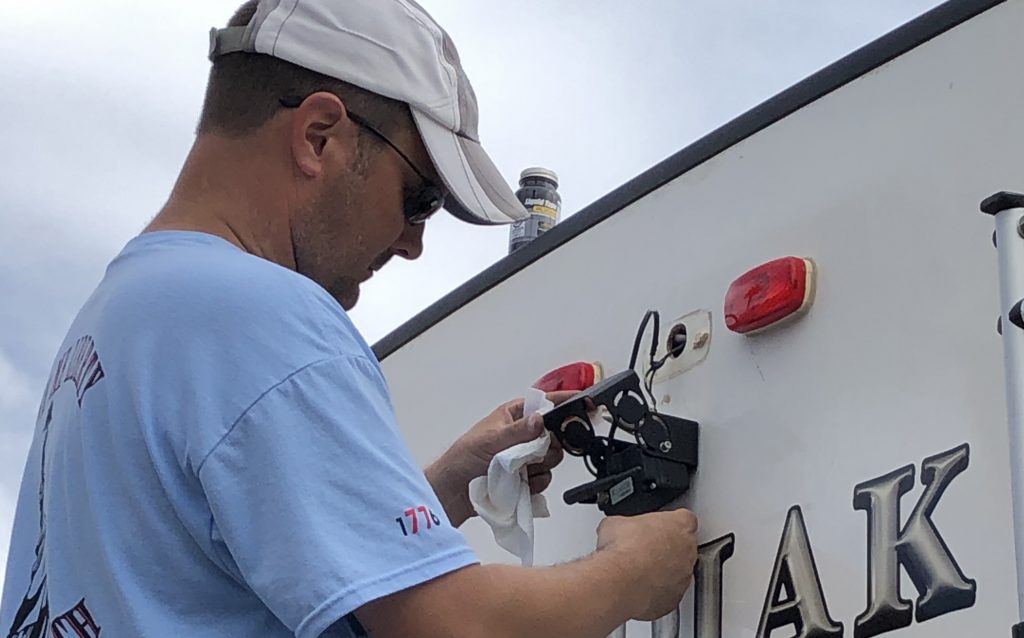
Despite wanting a day of nothing, we’d already done a couple hours work to move campsites and the to do list for our new home was still glaring at me. I decided to get one more box checked on the to do list. With more trekking through SoCal roads coming up, today became trailer rear view camera day. (It didn’t take all day. Honestly, it didn’t take very long at all.)
I did a bunch of research and decided to buy the Haloview MC7108 wireless rear view camera. It had lots of great reviews on YouTube and was a quite a bit cheaper than the Furion models that also got good reviews. I didn’t want to mess with running wires from the back of the trailer all the way to the front of the truck and a 50 foot wireless transmission should be pretty easy, so I didn’t even consider non-wireless options.
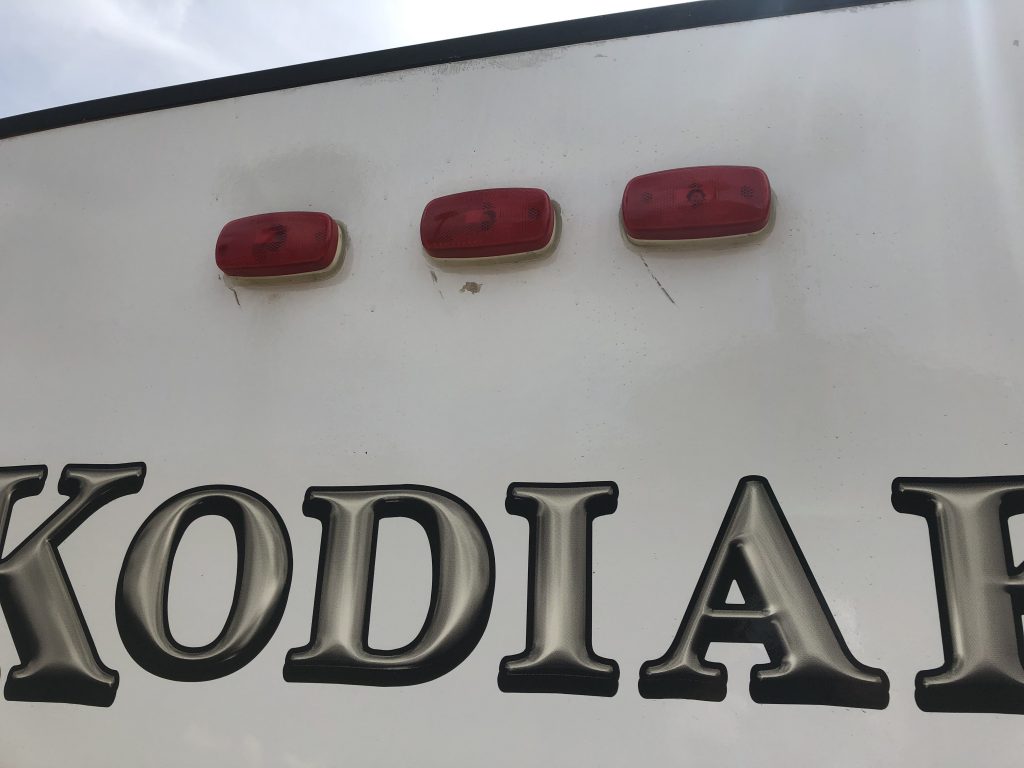
Since many trailers don’t come pre-wired for rear view cameras (especially trailers that are older than about 2017 model years), what’s become the typical installation technique is to pull power from one of the running lights on the top rear of the travel trailer. On our Kodiak, there are three lights there. Looking at the wiring, the structure around there and considering future rain storms, I decided to mount the camera just under the top middle light.
By mounting under the light, that’ll let me run a wire through the bottom of the light housing and have that hole create no water problems for when we encounter rain. Sure, it’ll all be sealed – but water’s really good at getting places you don’t want it. I pried the red lens cover off, unscrewed the housing and decided which wires I was going to splice into.
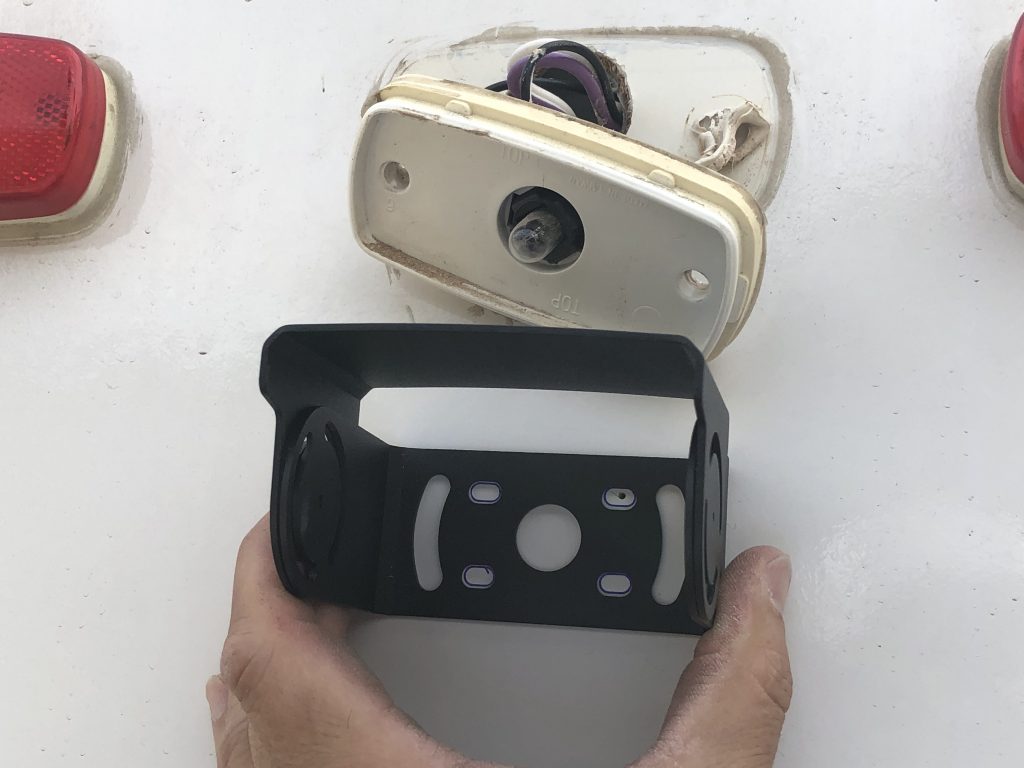
Many people use crimp fittings to splice in the power wires, but I’m a solder guy. I stripped a small section of insulation from the light’s power wires and tested the polarity with a multimeter. After soldering the camera power wires to the light power, I slopped on some liquid electrical tape to seal everything up (because I don’t have good shrink wrap or a heat gun along on our road trip) .
“Wait. Why is he using a light for power for his camera?” Yep. I know. The short story is: lazy. There isn’t always-hot DC power anywhere near the top back of our trailer, so to get proper, dedicated camera power back there I’d have to run new lines through those frustrating foam & fiberglass trailer walls. By using a running light, all I have to do is turn on the running lights to get power to the camera. It’s not perfect, but it saves loads of work. Lots of people drive with their lights on anyway, so I’m calling that good enough.
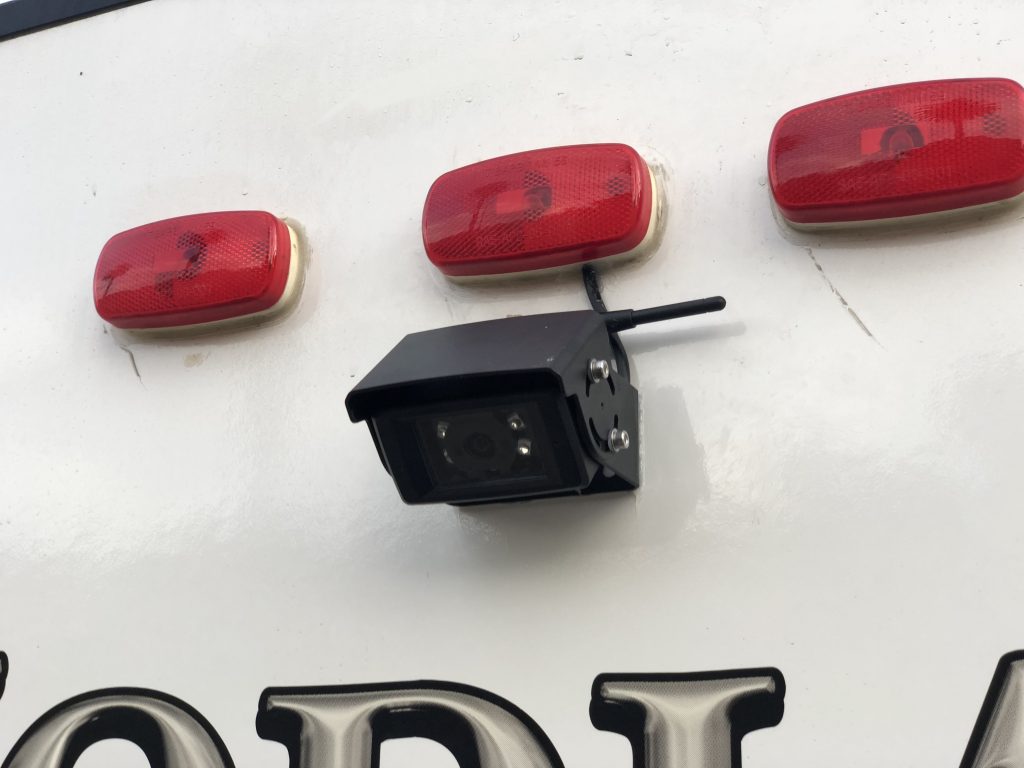
I haven’t done a test drive yet, but reception in the campground was crystal clear. I’d like to tilt the camera up more than I have it, but that’ll require a difference antenna or a spacer behind the mounting bracket. If I only had access to my 3d printer to make the perfect spacer…
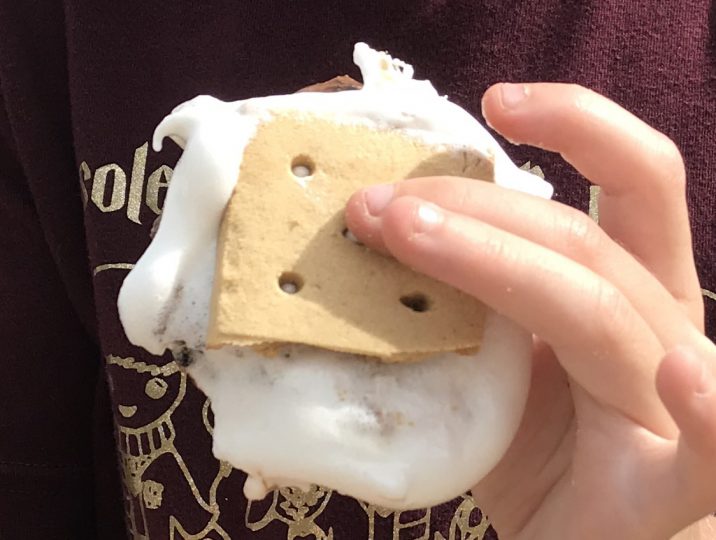
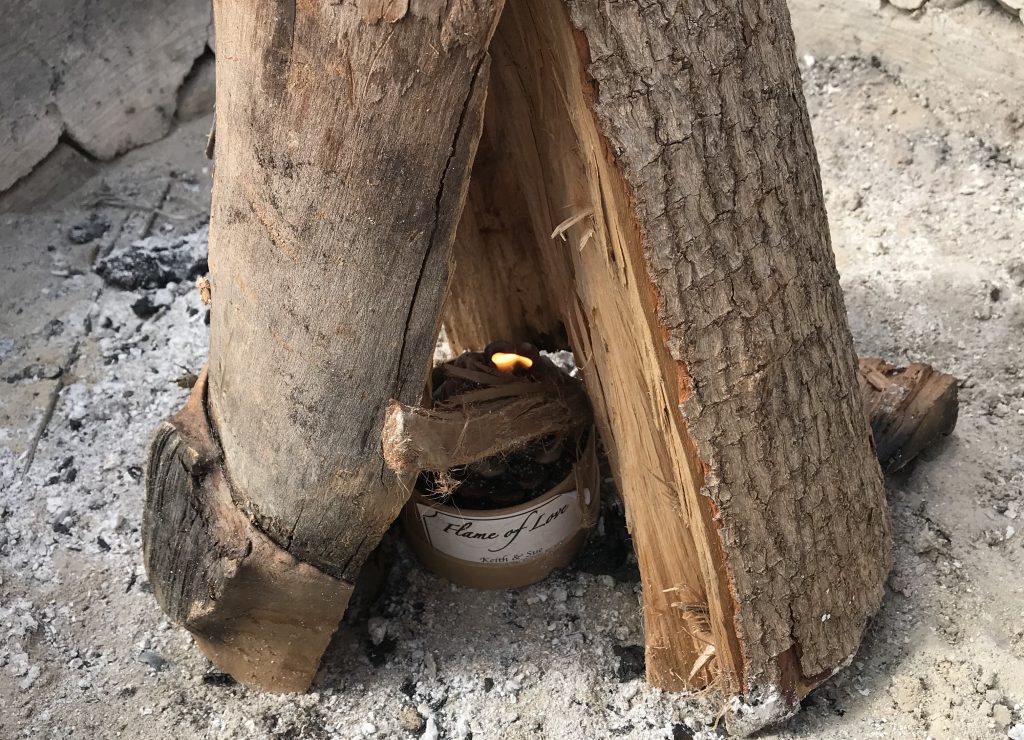
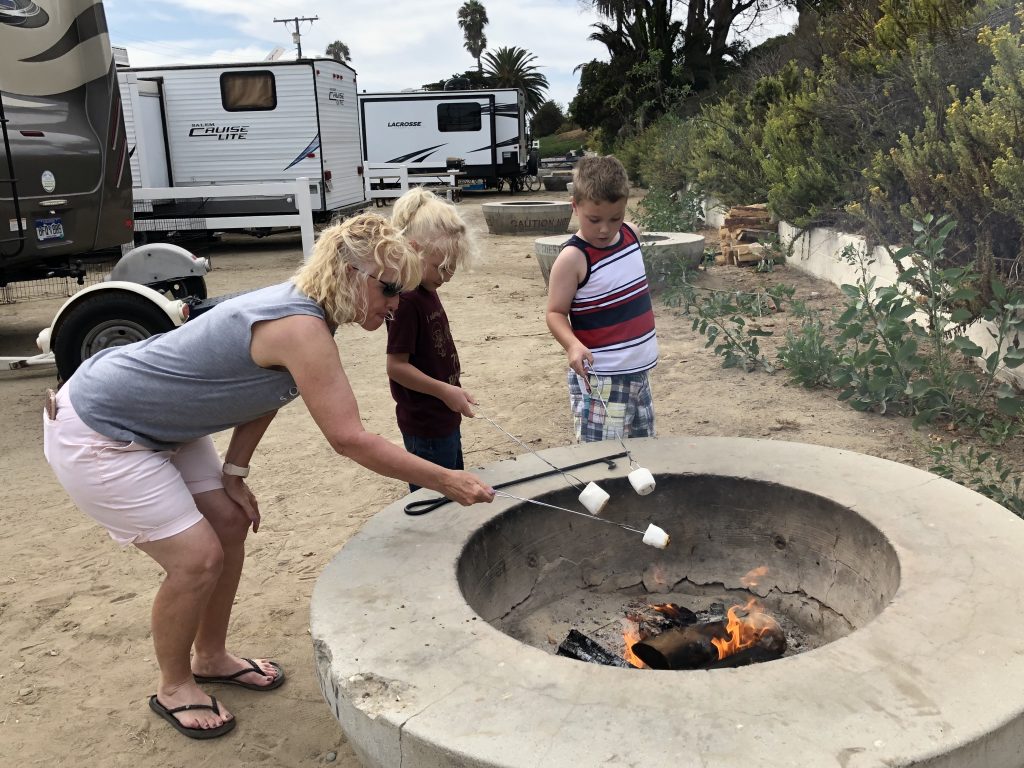
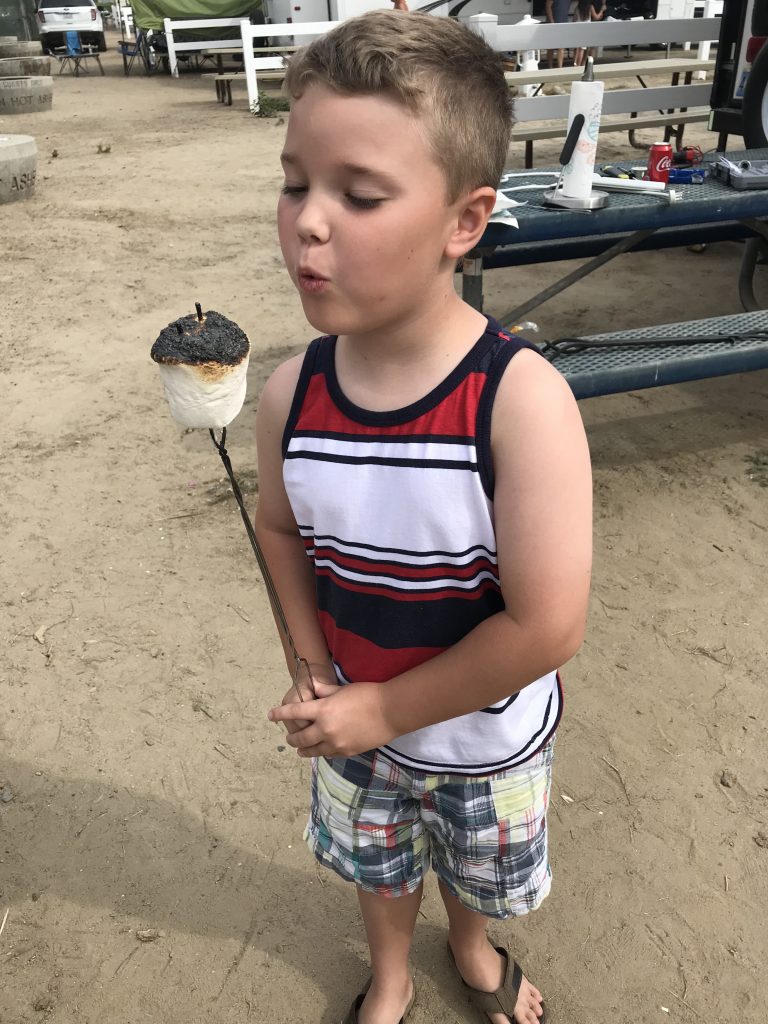
On to the fun! Lisa visited again today and gave some serious love to the twins. Since we didn’t make time last night for s’mores, Tanya started a fire and everyone made amazingly messy and yummy s’mores. We took the opportunity to finally burn the “Flame of Love” we got from Tanya’s sister Sue & her husband Keith’s wedding.
Lisa brought the biggest marshmallows on the planet (huge hit!). The s’mores were sooo good. Perfection!
Lisa also took the kids on a body board surfin’ safari. (I took some photos of the kids having a blast, but I still don’t have a CF card reader for my DSLR…soon.)
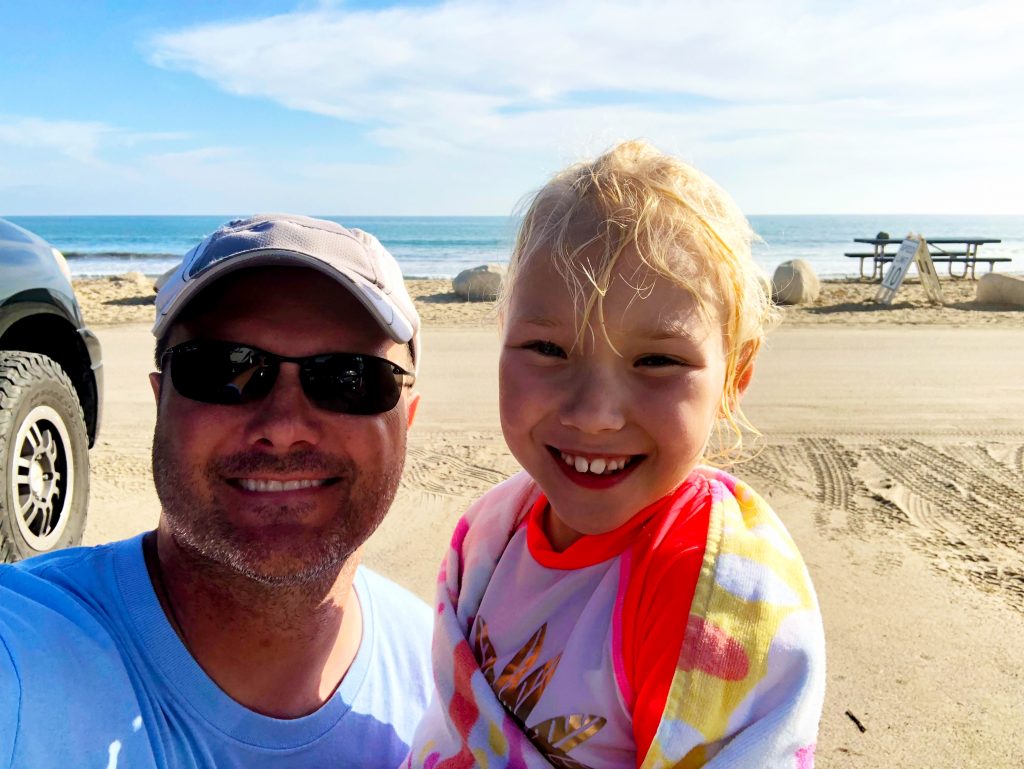
The twins couldn’t get enough of Lisa. It was amazing for all of us to spend time with her again.
Right on cue was another amazing sunset. Again, I’ll download the photos from my DSLR later, but here’s an iPhone substitute shot for now.

Today was our last full day at San Onofre Beach. Tomorrow is another move day.