After way too long with rocket building, painting, paint removing, repainting, and ground testing, I finally flew my Madcow Rocketry Broken Arrow 54 today. To keep it in sight (so I could use my eyes to verify everything worked – or see what didn’t), I flew it on an Aerotech I140W motor. That configuration had a predicted max altitude of about 3000 ft, a top speed of 480 ft/s (Mach 0.42), and a max acceleration of 8.5Gs.
The winds were light early in the morning, but they started to pick up by the time I launched. With roughly 10mph winds on the surface, I was well within comfortable limits for a first launch. Based on other flights, I expected higher winds shortly after launch.
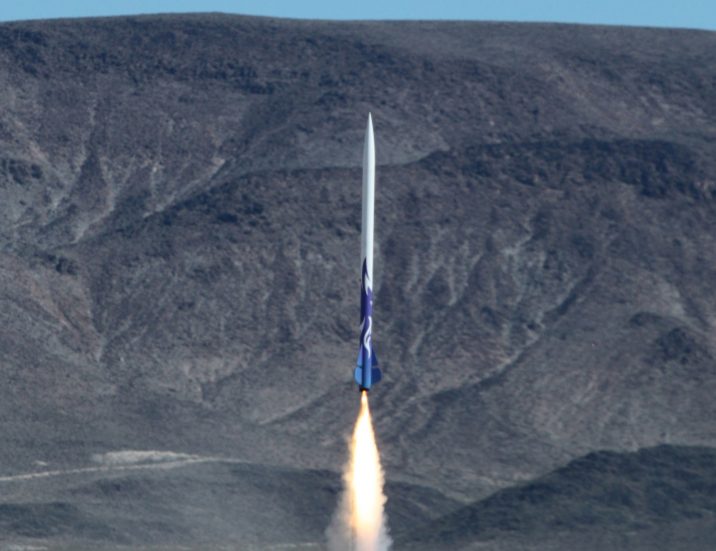
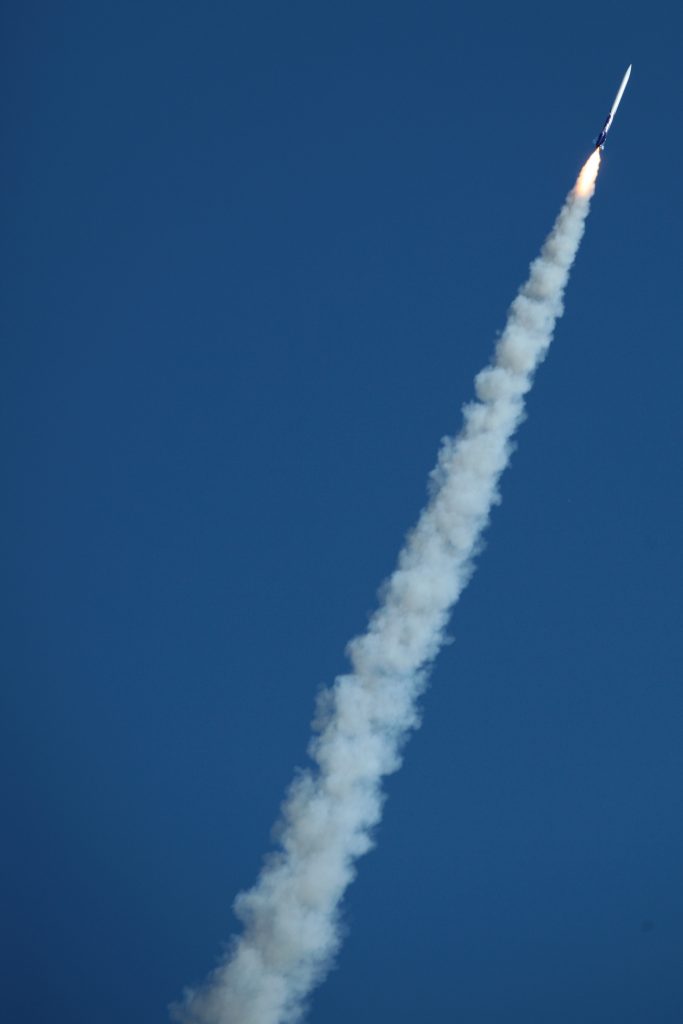
The I140 rocket motor is a mid-sized Level 1 motor with a fairly tame burn curve. The relatively low launch acceleration meant it wasn’t going anywhere near full speed when it hit the higher winds a hundred feet or so off the ground. Still, aside from a little tail waggle through the winds, the Broken Arrow launch looked great.
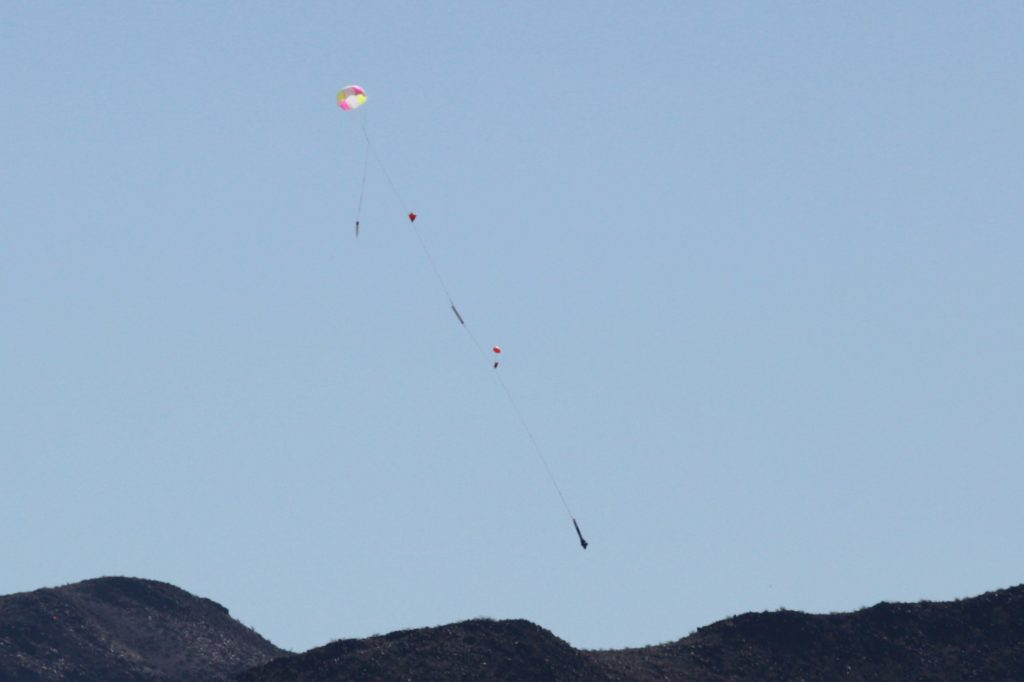
Dual-deploy recovery was accomplished with a 1.0g vinyl tubing charge at apogee with a 12″ Topflight Thin-Mil chute and a 1.4g charge at 700 ft AGL for the main chute, a 42″ lightweight Spherachute. The drogue (booster) section had a single 0.060″ Styrene rod as a shear pin. The payload section had two 2-56 nylon screws pushed into holes on opposite sides of the rocket.
The 1.0g charge on the drogue has a solid, but nice separation. The 1.4g main charge is very energetic. I’ll probably do some testing to lower this down in the future. A 1.2 or 1.3g charge is probably about right. The vinyl tubing charges get great burns and seem to produce considerably more pressure than glove fingertip or other charge containment methods.
Landing was about 1200 ft away at the southeast corner of the lakebed. My daughter was my recovery team and she gave it a full inspection for damage.

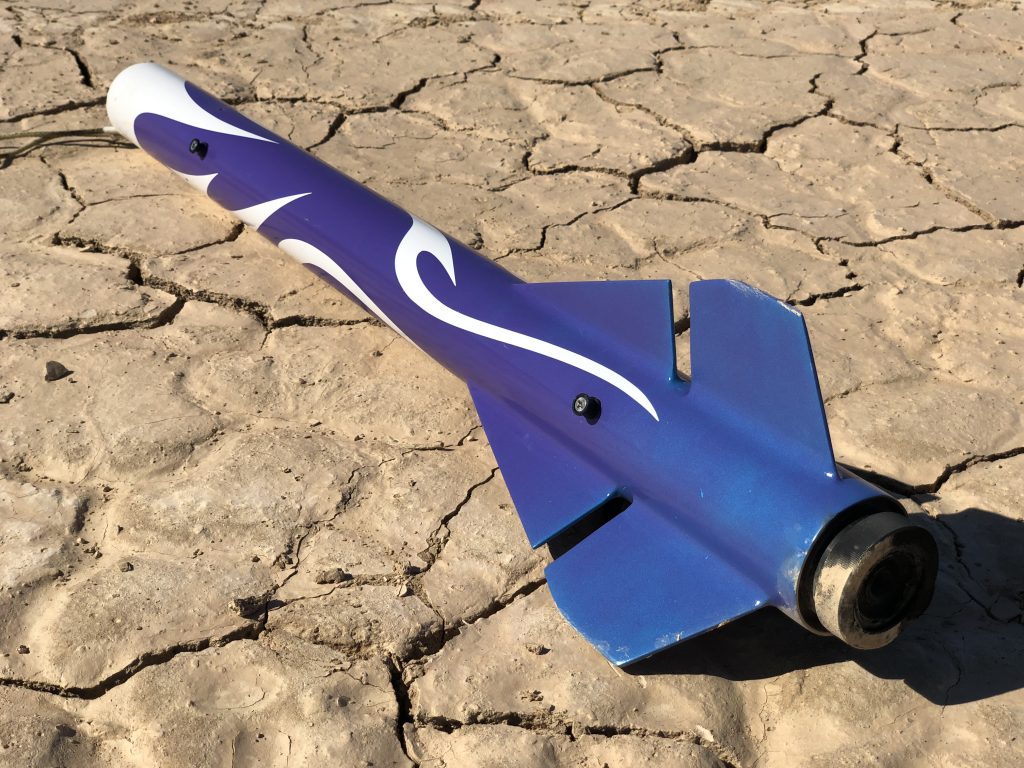
Overall, it was a conservative, but fun first flight. Bigger motor next time!
Update: Here’s the data from the Quantum flight computer. The velocity data look strange – there’s a big spike about a second before the motor should have stopped, then a deceleration fairly consistent with a motor that’s burned out. The max altitude was about 900 feet lower than expected (2100 vs 3000 ft). So, hmm. I’ll dig into the GPS logs to see if there are any differences and watch what happens on future flights.
You never cease to amaze me Bryan and Tanya! I Love You guys!! Happy 7/19/19 Birthday GrandDad Ron from Chicago
pmcbride0219@gmail.com
Hello! I purchased a Broken Arrow from MadCow rocketry back in late 2017 but it has remained at my brother’s house in Tennessee and I hope to get it and build it this Fall (Oct 2020) — but trying to get assembly instructrions to build as a dual deployment. I don’t see this rocket listed on MadCow’s website any longer (I will write to them) – realize they don’t provide assembly instructions for most rockets………
Any thing you can reference / send via eMail / links etc. would really be appreciated. I believe this is a 4″ diameter kit but frankly, I’ve lost all my paperwork other than the original PO which just lists the price. With the name Madcow Rocketry Broken Arrow 54 it could be a 54mm OD rocket?
Again, I’ll write to them (believe Michael Klett is still there) but would appreciate any comments! GREAT POSTING and flight you did!!!
Thanks and regards,
Steve Schulte
Monday 22 June 2020
Tripoli 01420 – Level 2
Hi Steve-
Yeah, the Broken Arrow 54 has a main tube inner diameter of about 54mm. I bought mine about the same time as you did (before Madcow stopped selling them) and mine came with a 38mm engine mount. Like you mentioned, Madcow doesn’t usually include instructions.
They go together similarly to other dual deploy fiberglass rockets. There are quite a few build threads on The Rocketry Forum and also some good instructions from other kit manufacturers. Mach 1 is a company newer than our Broken Arrows that has very nice kits and nice instructions. You can dig through the product pages here to find a set of instructions that should get you very close: https://www.mach1rocketry.com/22-in-54mm-kits.html For example, here’s one for their Portia: https://www.mach1rocketry.com/uploads/3/1/2/8/31284711/portia_build_instructions.pdf
For your avionics bay, it’s probably worth browsing The Rocketry Forum to see what different people are doing these days. There are new avionics out pretty regularly and people have shared some great ideas about how to make them fit & work in rockets. Here’s one semi-recent thread on avionics bays: https://www.rocketryforum.com/threads/the-avionics-bay-thread-post-your-photos.156649/
I hope this helps,
Bryan